clip 属性剪裁绝对定位元素。所有的主流浏览器都支持该元素。
这个属性用于定义一个剪裁矩形。对于一个绝对定义元素,在这个矩形内的内容才可见。出了这个剪裁区域的内容会根据 overflow 的值来处理。剪裁区域可能比元素的内容区大,也可能比内容区小。
基本语法


用法
clip: rect(10px  350px  170px  0); /* IE4 to IE7 */
clip: rect(10px, 350px, 170px, 0); /* IE8+ & other browsers */
示例
<style>
    .demo-clip {
        background: rgb(168, 231, 168);
        width: 100px;
        height: 100px;
        position: absolute;
        clip: rect(5px 75px 75px 5px);
        clip: rect(5px, 75px, 75px, 5px);
    }
</style>
<div class="demo-clip">
</div>
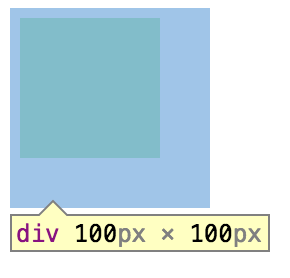
可以看到rect(top, right, bottom, left)四个值指的是相对左上角(0, 0)的偏移数值。
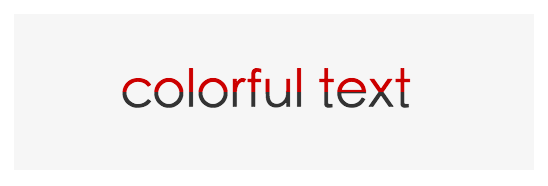
有趣的实现
炫彩文字
<style>
.demo-color-text {
    position: relative;
    font-size: 26px;
    background: #f6f6f6;
    height: 3em;
    width: 10em;
}
.demo-text-top {
    position: absolute;
    color: #CC0000;
    left: 2em;
    top: 1em;
    clip: rect(0 auto 13px 0);
    clip: rect(0, auto, 13px, 0);
}
.demo-text-bottom {
    position: absolute;
    color: #333333;
    left: 2em;
    top: 1em;
    clip: rect(13px, auto, auto, auto);
}
</style>
<div class="demo-color-text">
    <div class="demo-text-top">colorful text</div>
    <div class="demo-text-bottom">colorful text</div>
</div>
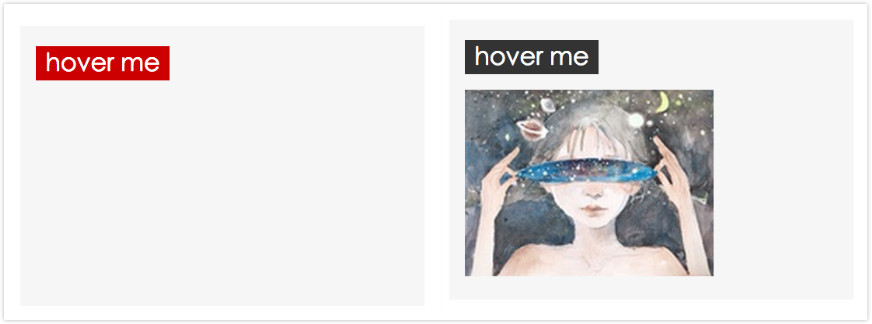
hover控制图片的显示
<style type="text/css">
.demo-show-hide {
    position: relative;
    background: #f6f6f6;
    margin: 10px 0;
    width: 15em;
    height: 10em;
    padding: 10px;
}
.demo-hover-btn {
    background: #CC0000;
    display: block;
    padding: 3px;
    width: 5em;
    margin: 3px 0;
    color: #fff;
    cursor: pointer;
    text-align: center;
}
.demo-hover-btn:hover {
    background: #333;
}
.demo-hover-img {
    position: absolute;
    display: block;
    top: 45px;
    left: 10px;
    clip: rect(120px 0 0 160px);
    clip: rect(120px, 0, 0, 160px);
    -webkit-transition: all 0.5s linear;
    -moz-transition: all 0.5s linear;
    transition: all 0.5s linear;
}
.demo-hover-btn:hover ~ .demo-hover-img {
    clip: rect(0 160px 120px 0);
    clip: rect(0, 160px, 120px, 0);
}
</style>
<div class="demo-show-hide">
    <span class="demo-hover-btn">
        hover me
    </span>
    <img class="demo-hover-img" src="http://img3.douban.com/icon/ul29163290-16.jpg">
</div>